Ever found yourself waiting at the baggage carousel, squinting to spot your suitcase among a sea of identical bags? You're not alone.
But what if you could make your luggage stand out with a touch of personal flair? Welcome to the world of Do It Yourself luggage tags. Imagine creating a tag that's not only functional but also a reflection of your style.
This is more than just a travel accessory; it's a statement piece. With a few simple materials, you can design something unique that ensures your bag is easy to spot and hard to forget. Stick around to discover how you can transform ordinary into extraordinary, all while having fun and saving money.
Benefits Of Diy Luggage Tags
Making your own luggage tags offers many benefits. It brings fun and practical value to your travel gear. Custom tags can save money, show your style, and help find your bags quickly.
Cost Savings
DIY luggage tags cost less than store-bought ones. Materials like paper, plastic, or fabric are easy to find. You avoid high prices and shipping fees. Saving money means you can buy other travel essentials.
Unique Style
Homemade tags let you express your personality. Choose colors, shapes, and designs that fit you. No one else will have the same tag. It makes your luggage stand out on the carousel.
Easy Identification
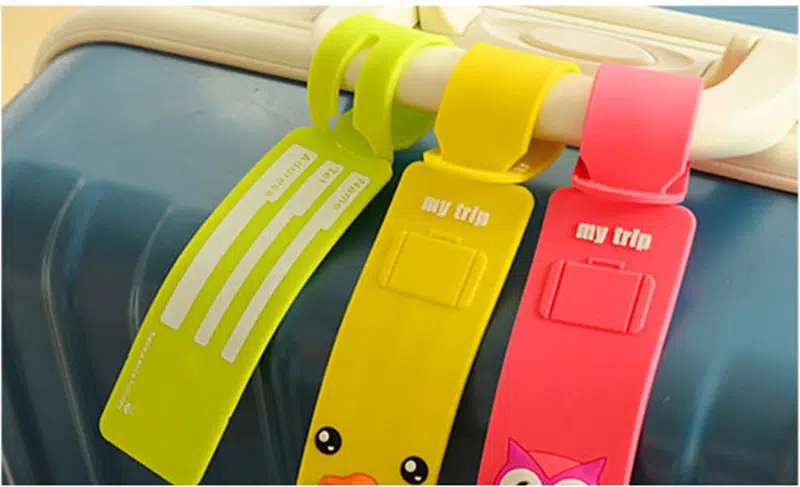
Custom tags help spot your bags fast. Bright colors and clear labels catch your eye. You reduce the chance of losing or mixing up luggage. Travel stress becomes much lower with easy ID.
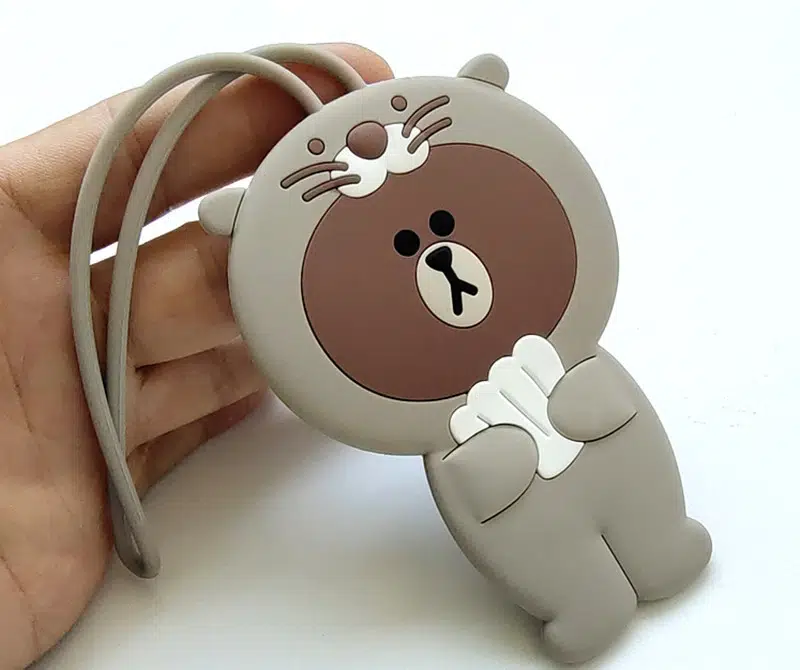
Credit: consumersiliconeproducts.com
Materials You’ll Need
Creating your own luggage tags is simple and fun. Start by gathering the right materials. The items you choose affect the durability and style of your tag. Use supplies that are easy to handle and long-lasting. This section covers basic supplies, eco-friendly options, and decorative elements for your DIY project.
Basic Supplies
- Cardstock or thick paper for the tag base
- Clear plastic sleeves to protect the tag
- Scissors or craft knife for cutting shapes
- Hole punch to create a spot for attaching
- String, ribbon, or elastic band to fasten the tag
- Pen or marker to write your contact information
Recyclable Options
- Old greeting cards for a sturdy base
- Scrap fabric pieces for a soft tag
- Reused plastic containers cut into shapes
- Paper bags or envelopes for a rustic look
- Natural twine or jute string for attachment
Decorative Elements
- Stickers or stamps to add patterns
- Washi tape for colorful borders
- Ribbon or lace for texture and style
- Buttons, beads, or charms for detail
- Colored markers or paint for personalization
Simple Diy Designs
Simple DIY luggage tags are a fantastic way to personalize your travel gear without spending much. They let you add unique touches that store-bought tags often lack. Plus, creating your own tags can be a fun and rewarding project that anyone can try.
Paper And Cardboard Tags
Paper and cardboard tags are the easiest to make and require minimal supplies. You can use colorful cardstock or even recycled cardboard from packaging. Just cut out a shape, write your contact info, and laminate it or cover it with clear tape for durability.
Try punching a hole and adding a ribbon or string to attach the tag to your luggage. You can get creative with stamps, stickers, or hand-drawn designs to make your tag stand out. Have you ever thought about using old postcards or maps for a travel-inspired tag?
Fabric And Felt Tags
Fabric and felt tags offer a soft, flexible option that feels more personal. Cut your chosen fabric into a simple shape like a rectangle or circle. Use fabric glue or sew edges to keep it neat and add a clear plastic window for your information.
These tags can be decorated with embroidery, fabric paint, or buttons for extra flair. You might even repurpose scraps from old clothes or craft projects. What pattern or color would represent your travel style best?
Plastic And Laminated Tags
Plastic and laminated tags are sturdy and weather-resistant, perfect for frequent travelers. You can print your details on paper, then laminate the sheet or slip it into a clear plastic sleeve. This keeps your info safe from spills and rough handling.
Consider using plastic sheets or folders you already have at home to save money. Punch a hole in the corner and attach a keyring or strap to fasten it securely. Do you prefer a tag that holds up through all kinds of adventures?

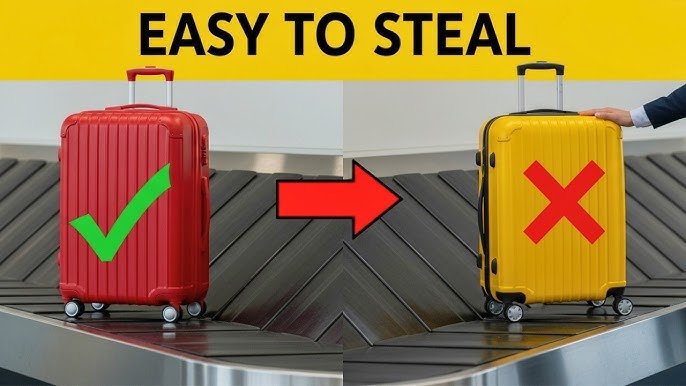
Credit: www.youtube.com
Creative Decoration Ideas
Creative decoration ideas make DIY luggage tags unique and personal. They help your tags stand out on crowded baggage carousels. Use simple materials and fun techniques to express your style. Bright colors and interesting textures catch the eye. Personal touches ensure you never lose your bag again.
Painting And Drawing
Paint or draw your designs directly on plain luggage tags. Use acrylic paints or permanent markers for bold colors. Simple shapes like stripes, dots, or stars look great. Draw favorite symbols or initials for easy ID. Let each tag dry completely to avoid smudges. Painting is a fun way to add personality quickly.
Stickers And Stamps
Apply stickers or stamps to decorate tags with ease. Choose waterproof stickers for durability during travel. Use themed stamps to create patterns or borders. Layer different stickers for a collage effect. Seal with clear tape or glue to protect your art. Stickers and stamps offer endless creative options.
Embroidery And Sewing
Sew or embroider designs on fabric luggage tags for texture. Use colorful threads to outline shapes or write names. Simple stitches like running stitch or cross-stitch add charm. Attach small beads or buttons for extra detail. Fabric tags feel soft and look handmade. Embroidery adds a classic, crafted touch to your luggage.
Personalizing With Photos And Monograms
Adding a personal touch to your luggage tags makes them stand out and easier to spot. Photos and monograms offer a simple way to customize your tags, reflecting your style and identity. These small details not only help prevent mix-ups but also add a bit of fun to your travel gear.
Photo Inserts
Using photo inserts lets you showcase a favorite picture on your luggage tag. It could be a snapshot of a loved one, a pet, or a memorable trip. Simply print a small photo, cut it to size, and slide it into a clear tag holder.
This method is quick and allows you to change the photo anytime you want. Have you ever grabbed your bag in a crowded airport and wished you could spot it instantly? A photo insert solves that problem perfectly.
Custom Monograms
Monograms add a classy and personalized look to your luggage tags. You can use your initials or a combination of letters that mean something to you. Embroider them on fabric tags or paint them on leather or plastic tags for a unique effect.
Monograms don’t just look stylish—they also make your bag unmistakably yours. Think about how often you see bags with similar designs; a monogram instantly sets yours apart. What letters would you choose to represent your travel identity?
Using Vinyl Decals
Vinyl decals offer a versatile way to add photos, monograms, or even fun designs to your luggage tags. You can cut out shapes or letters using a vinyl cutter or buy pre-made decals. Stick them onto a smooth tag surface, and seal with a clear coat for durability.
Decals are affordable and easy to apply, making them perfect for DIY projects. Plus, they resist water and wear, so your tag stays looking fresh. Have you considered what graphics or quotes could make your tag truly one of a kind?
Protecting Your Tags For Travel
Protecting your DIY luggage tags ensures they last through many trips. Travel exposes tags to rough handling, moisture, and wear. Taking simple steps can keep your tags readable and intact. Proper protection helps your tags stay looking fresh and clear.
Laminating Techniques
Laminating is a smart way to protect paper luggage tags. Use clear laminating sheets or a laminator machine. Seal the entire tag to prevent water damage and tearing. Trim the edges neatly, leaving a small border of laminate around the tag. This extra layer adds stiffness and durability.
Waterproofing Tips
Waterproofing keeps your tags safe from rain and spills. Spray a clear waterproof sealant on your tag’s surface. Let it dry completely before use. Another option is to cover tags with clear packing tape. Both methods stop water from soaking into paper or cardstock. Use materials that do not peel easily.
Durable Attachment Methods
Secure attachment stops tags from falling off your luggage. Use strong loops like nylon or leather straps. Metal rings also hold tags tightly. Avoid thin strings that break easily. Check attachments regularly for wear. Strong connections prevent loss during travel.
Alternative Uses For Diy Tags
DIY luggage tags are not just for your suitcase. Once you start making these handy tags, you’ll find creative ways to use them beyond travel. They are simple, customizable, and perfect for organizing or adding a personal touch to everyday items.
Gift Tags
Why buy gift tags when you can create your own with DIY luggage tags? They add a unique flair to presents and show extra thoughtfulness. You can write the recipient’s name, a short message, or even decorate with stickers or drawings.
Think about the last time you received a gift with a plain tag—did it feel special? Using your own tags can make your gift stand out and be remembered. Plus, they are reusable if attached with a string or ribbon.
Bag Labels
Keep your bags easily identifiable with DIY tags. Whether it’s a gym bag, school backpack, or lunch tote, a personalized tag helps prevent mix-ups. You can include your name, contact info, or even fun designs to match the bag’s style.
Imagine how many times you’ve grabbed the wrong bag in a hurry. A clear, visible tag solves this problem instantly. It also makes it easier for kids to spot their bags in a crowd or at school.
Event Name Tags
Hosting a party or workshop? DIY luggage tags make perfect name tags for guests. They are easy to customize with names, titles, or roles and can double as keepsakes from the event. You can get creative with colors and fonts to match your event theme.
Have you ever struggled with generic name tags that feel impersonal? Using DIY tags shows you care about your guests’ experience. They encourage interaction and make introductions smoother.
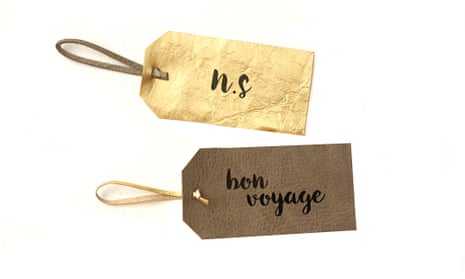
Credit: www.theguardian.com
Frequently Asked Questions
What Materials Do I Need For Diy Luggage Tags?
You need durable cardstock, laminating sheets, scissors, a hole punch, and string or ribbon. Optional items include markers and stickers for personalization.
How Can I Personalize My Diy Luggage Tags?
Use colorful markers, stickers, or stamps to add your name, contact info, and unique designs. This helps easily identify your luggage.
Are Diy Luggage Tags Durable For Travel?
Yes, using laminated cardstock and strong string makes your tags durable. Laminating protects against water and wear during travel.
How Do I Attach Diy Luggage Tags To My Bags?
Punch a hole in the tag and thread a sturdy string or ribbon through it. Tie securely to your luggage handle.
Conclusion
DIY luggage tags save money and add a personal touch. You can choose colors and styles you like. Making tags at home is quick and fun. They help you spot your bag fast. Plus, you feel proud carrying something you made.
Try simple materials and get creative today. Travel smarter and stand out with your own tags. Give it a go—you might enjoy the process more than you think!