Imagine coming home with a delicious rotisserie chicken, ready to be transformed into a delightful meal. But wait—deboning it seems messy and time-consuming, right?
What if there was a simple, clean, and efficient way to get the job done without hassle? That's where deboning in a plastic bag comes into play. This method not only keeps your kitchen tidy but also saves you precious time.
Curious about how it works? Stick around, and you’ll discover a game-changing technique that will make your meal prep easier and more enjoyable than ever before.
Tools You Need
Deboning a rotisserie chicken in a plastic bag is simple with the right tools. These tools help keep your hands clean and make the process faster. Preparing before you start saves time and effort. Let’s explore the essential items you need.
Choosing The Right Plastic Bag
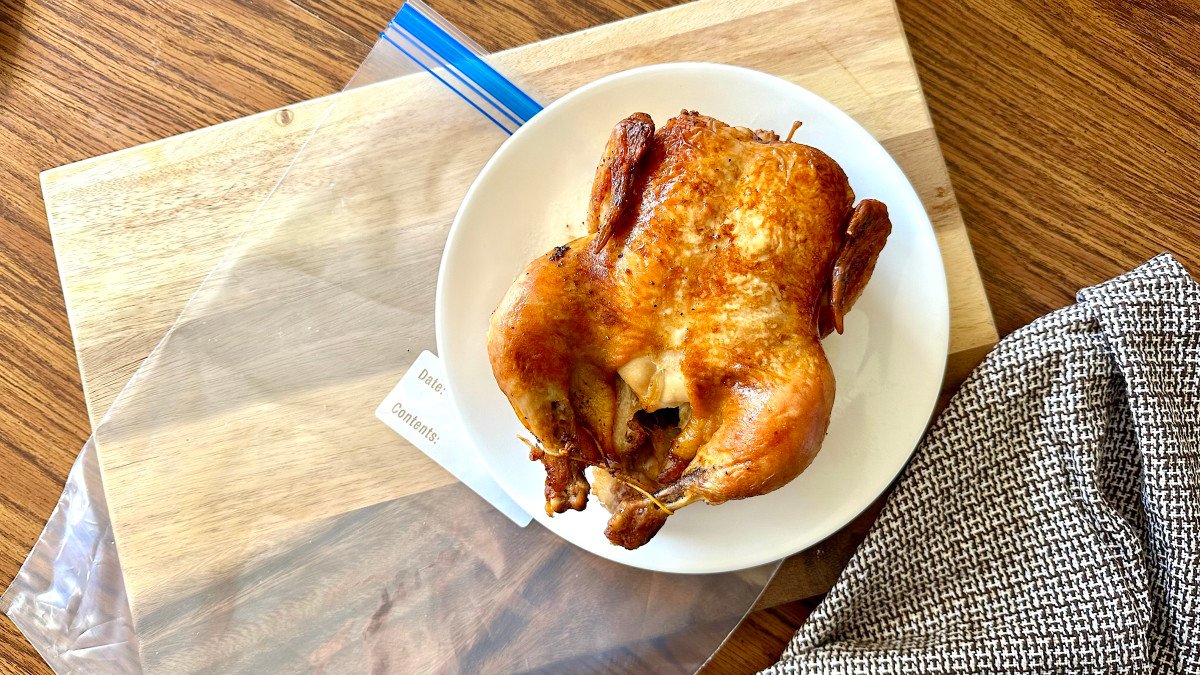
Pick a sturdy, food-safe plastic bag to avoid tears. The bag should be large enough to hold the whole chicken. A zip-top freezer bag works well as it seals tightly. Clear bags help you see the chicken inside. Avoid thin or weak bags that can break during deboning.
Essential Kitchen Tools
- A sharp boning knife or small paring knife is best for cutting around bones.
- A pair of kitchen scissors helps trim small bits and tough skin.
- A cutting board provides a clean, stable surface to work on.
- Paper towels or a clean cloth keep your hands and workspace dry.
- Optional: Food gloves for extra grip and hygiene.

Credit: www.yahoo.com
Preparing The Chicken
Preparing the chicken correctly makes deboning easier and safer. Start by ensuring the rotisserie chicken is at the right temperature. Handling the chicken with care prevents mess and keeps your kitchen clean. Organization helps speed up the process and reduces stress.
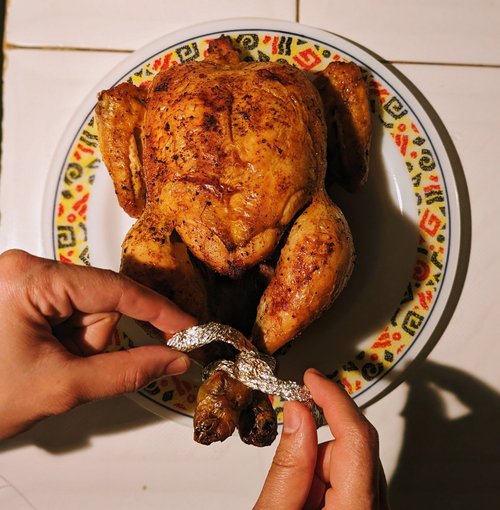
Cooling And Handling Tips
- Let the rotisserie chicken cool for about 10 to 15 minutes.
- Cool chicken is easier to handle and less likely to break apart.
- Use clean hands or wear disposable gloves for hygiene.
- Handle the chicken gently to avoid tearing the meat.
- Keep a paper towel nearby to wipe any juices.
Setting Up Your Work Area
- Clear a flat surface to work comfortably.
- Place a large plastic bag or cutting board on the surface.
- Have a sharp knife or kitchen shears ready.
- Keep a bowl nearby to collect bones and scraps.
- Have paper towels or napkins ready for quick cleanups.
Step-by-step Deboning
Deboning a rotisserie chicken in a plastic bag is simple and clean. This method helps keep the meat juicy and reduces mess. Follow clear steps to separate the bones from the tender meat quickly. Use these tips to make the process smooth and safe.
Placing The Chicken In The Bag
Start by choosing a large, strong plastic bag. Place the whole rotisserie chicken inside carefully. Seal the bag tightly to avoid spills. The bag keeps juices inside, making the meat moist. It also helps prevent bones from flying around. Prepare a clean surface for the next steps.
Removing The Bones Safely
Hold the bag with the chicken firmly. Use your fingers to feel the bones through the plastic. Gently pull the bones away from the meat. Work slowly to avoid tearing the bag. Use kitchen shears if bones are hard to remove. Keep fingers clear of sharp edges to stay safe.
Separating Meat From Bones
Once bones are loose, separate them from the meat inside the bag. Squeeze the bag gently to break the meat apart. Use your hands to pull the meat away from bones. Collect the meat in one part of the bag. Discard the bones carefully. The bag keeps everything tidy and easy to handle.
Cleaning Up
Cleaning up after deboning a rotisserie chicken in a plastic bag is important. It keeps your kitchen tidy and safe. Proper cleanup prevents germs and bad smells. A clean space also makes cooking more enjoyable next time.
Disposing Of Bones And Skin
Start by gathering all the bones and skin left inside the bag. Tie the plastic bag tightly to avoid any drips. Place the tied bag directly into your trash bin. Avoid leaving bones or skin on the countertop. This stops insects and odors from spreading.
Washing Tools And Surfaces
Wash the plastic bag, if reusable, with warm soapy water. Rinse it well and let it dry completely. Clean your knives and cutting board with hot water and dish soap. Wipe down the countertop with a kitchen cleaner or vinegar solution. Dry all surfaces with a clean towel to prevent bacteria growth.
Using Deboned Chicken
Using deboned rotisserie chicken opens up a world of quick and delicious meal options. Removing the bones in a plastic bag keeps the process tidy and ensures the meat stays juicy and intact. Once you have your boneless chicken ready, you can easily adapt it for various dishes that save time without sacrificing flavor.
Recipe Ideas
Deboned chicken fits perfectly into many recipes. You can shred it for tacos, stir it into pasta, or mix it with veggies for a hearty salad. It’s also great for making quick sandwiches or wraps.
Try layering the chicken in a casserole with cheese and vegetables for a comforting dinner. Or toss it with a simple sauce and serve over rice for a fast weekday meal. What’s your favorite way to transform leftover chicken into something exciting?
Storage Tips
Storing deboned chicken properly keeps it fresh and ready to use. Place the chicken in an airtight container or resealable plastic bag to prevent drying out. Label it with the date so you can track freshness easily.
Keep it in the fridge if you plan to use it within 3-4 days. For longer storage, freeze the chicken in portion-sized bags. Thaw in the fridge overnight for the best texture and taste.
Credit: www.onecreativecook.com

Credit: www.crazybusymama.com
Frequently Asked Questions
How Do You Safely Debone A Rotisserie Chicken?
Use a plastic bag to contain the chicken and bones. This prevents mess and keeps your workspace clean. Gently pull the bones out through the bag opening, avoiding sharp edges. This method is hygienic and easy for beginners.
Why Use A Plastic Bag For Deboning Chicken?
A plastic bag keeps the chicken juices contained, reducing cleanup. It also helps you feel the bones without direct contact. This technique makes deboning faster and less messy, enhancing your cooking experience.
Can I Debone A Cold Rotisserie Chicken In A Bag?
Yes, deboning is easier when the chicken is cold. The meat firms up, making bone removal simpler. Using a bag helps keep everything tidy. Just ensure the chicken is fully cooled before starting.
What Tools Are Needed For Deboning In A Plastic Bag?
No special tools are required besides a sturdy plastic bag. Optionally, you can use kitchen shears to cut tougher parts. Your hands are the primary tools to separate meat from bones within the bag.
Conclusion
Deboning a rotisserie chicken in a plastic bag saves time and keeps things clean. The bag holds the chicken steady and catches all the juices. This method makes removing bones easier and less messy. You get tender, ready-to-use chicken pieces for any meal.
Give it a try next time you want quick and simple prep. Cooking becomes more fun and less stressful this way. Keep practicing to improve your skills and enjoy tasty meals.