Are you tired of those flimsy plastic bags cluttering your home and harming the environment? Imagine carrying a stylish, eco-friendly cloth bag that you crafted with your own hands.
It's easier than you might think, and with a few simple steps, you can create a durable bag that suits your style and needs. Whether you're a seasoned sewing enthusiast or a complete beginner, this guide will walk you through the process of sewing your very own cloth bag.
You'll discover the joy of choosing your favorite fabric, mastering basic sewing techniques, and proudly using a bag that's both functional and personal. Ready to transform a simple piece of fabric into your new go-to accessory? Let's dive into the world of sewing and unleash your creativity.

Credit: www.youtube.com
Materials Needed
Gathering the right materials makes sewing a cloth bag easier and more fun. Choose fabrics and tools that suit your skill level and project style. Prepare everything before starting to keep your work smooth and quick.
Choosing The Right Fabric
Select fabric that is strong and easy to sew. Cotton and canvas are popular choices. They hold shape well and last long. Lightweight fabrics like linen also work but may need lining. Avoid slippery or very stretchy materials for beginners.
Essential Sewing Tools
- Sewing machine or needle for hand sewing
- Thread matching your fabric color
- Fabric scissors or rotary cutter
- Measuring tape or ruler
- Pins or clips to hold fabric pieces
- Iron for pressing seams
Optional Accessories
- Interfacing to add extra strength
- Decorative buttons or patches
- Fabric marker for drawing patterns
- Handles or straps for carrying
- Seam ripper to fix mistakes

Credit: www.youtube.com
Preparing The Fabric
Preparing the fabric is a crucial step in sewing a cloth bag. It sets the foundation for a neat, sturdy finished product. Taking time here will save you from frustration later and make your sewing experience much smoother.
Measuring And Cutting
Start by measuring your fabric according to the bag size you want. Use a clear ruler or measuring tape to get exact dimensions. Remember to add extra fabric for seams and hems.
Cutting fabric accurately is just as important as measuring. Lay the fabric flat on a clean surface and use sharp fabric scissors for clean edges. If you cut unevenly, your bag may look lopsided or the pieces might not fit together well.
Have you ever tried to fix a crooked cut? It’s frustrating and wastes fabric. Avoid this by double-checking your measurements before cutting and cutting slowly and carefully.
Marking Seam Allowances
Seam allowances are the extra space between your cut edge and where you sew. Marking these clearly ensures your seams are even and the bag holds together properly. Most bags need about a ½ inch seam allowance.
Use tailor’s chalk, fabric pens, or pins to mark your seam lines. These tools are easy to remove or wash out later. Marking your fabric also helps keep track of where each piece joins.
Think about how much easier sewing becomes when you have clear guidelines. It helps you sew straight lines and keeps your project neat. Don’t skip this step—it’s a small effort that makes a big difference.
Basic Sewing Techniques
Mastering basic sewing techniques is essential before you start making your cloth bag. These skills ensure your bag is sturdy, neat, and long-lasting. Whether you’re a beginner or need a quick refresher, understanding these foundational stitches will boost your confidence and improve your results.
Straight Stitching
Straight stitching is the most common and straightforward stitch you’ll use. It creates a clean, even line of stitches perfect for joining fabric pieces together. When sewing your cloth bag, keep your stitches consistent in length to make the seam both strong and attractive.
Try practicing on scrap fabric first to get a feel for controlling your sewing machine speed. Notice how your hands guide the fabric—steady and smooth movements prevent puckering. Have you ever experienced uneven stitches? This simple practice can help you avoid that.
Backstitching For Strength
Backstitching is a small but powerful technique that secures your seams. At the start and end of each seam, sew backward for a few stitches to lock the thread in place. This prevents your bag from unraveling, especially in areas that will face the most stress, like handles or the bottom corners.
Don’t skip this step—it’s like adding a safety net to your sewing. Think about the last time a bag strap tore; backstitching can save you from that frustration. It’s quick to do and adds a lot of durability.
Seam Finishing Options
How you finish your seams affects both the look and lifespan of your cloth bag. Raw edges can fray, so choose a finishing method that suits your skill and style.
- Zigzag Stitch:Easy and effective for preventing frays on most fabrics.
- Pinked Edges:Using pinking shears creates a zigzag cut that reduces fraying without extra stitching.
- French Seams:Great for a clean, professional finish on lightweight fabrics by enclosing raw edges.
Which seam finish fits your project best? Trying different options on scrap fabric helps you decide. Seam finishing might seem small, but it’s the difference between a bag that looks homemade and one that looks handmade with care.
Sewing The Bag Body
Sewing the bag body is where your cloth bag starts to take shape. This part involves connecting your fabric pieces carefully and forming the structure that will hold everything together. With the right approach, you can create a sturdy and attractive bag that suits your style.
Joining Fabric Pieces
Start by placing your fabric pieces right sides together. Pin the edges to keep them aligned as you sew. This prevents shifting and helps maintain straight seams.
Use a consistent seam allowance, typically around 1/2 inch. This ensures your bag has a clean, professional look. Don't rush—take your time to stitch slowly and evenly.
If your fabric frays easily, consider finishing the edges with a zigzag stitch or pinking shears. This little extra step can save you from loose threads later on. Have you noticed how a small detail like this improves the durability of your projects?
Creating The Bag Shape
Once your pieces are joined, it’s time to shape the bag. Pinch the bottom corners and sew across to create a flat base. This simple technique gives your bag depth and allows it to stand up on its own.
Think about how you want your bag to look and function. Should it be wide and roomy or slim and compact? Adjust your corner seams accordingly to get the perfect shape.
Try turning the bag right side out after sewing. Feel the structure and make any necessary adjustments. This hands-on check helps you spot any weak spots before moving on.
Adding Handles
Adding handles to your cloth bag gives it function and style. Handles let you carry the bag easily and add a finished look. Choose handle length and style based on how you want to use the bag. Fabric handles are a popular, durable choice that matches the bag’s design.
Making Handles From Fabric
Cut two strips of fabric for each handle. The strips should be about 2 to 3 inches wide and the length you want for carrying. Fold each strip in half lengthwise, right sides together. Sew along the long edge with a ¼ inch seam allowance.
Turn the sewn fabric tube inside out using a safety pin or turning tool. Press the handle flat with an iron. Topstitch along both long edges to keep the handle flat and strong. Repeat for the second handle.
Attaching Handles Securely
Pin each handle to the top edge of the bag. Space handles evenly on both sides. Align raw edges of handles with the bag’s opening.
- Sew handles with a straight stitch using a ¼ inch seam allowance.
- Reinforce by sewing a square or an X shape over the handle ends.
- Backstitch at the start and end to secure stitches.
Check the handles for strength by pulling gently. Handles should hold firm without pulling away from the fabric. Secure handles well for lasting use and comfort.
Finishing Touches
Finishing touches can transform your cloth bag from simple to stunning. These final steps give your project a clean, professional look and make your bag more durable. Taking a little extra time now ensures your hard work lasts and looks great every time you use it.
Turning The Bag Right Side Out
After sewing, gently pull your bag through the opening to turn it right side out. Use your fingers or a blunt tool to push out corners fully—sharp edges make a big difference in appearance. If the fabric is thick, take it slow to avoid stressing the seams.
Pressing Seams For Neatness
Pressing the seams with an iron flattens any puckering and sharpens the edges. Use a medium heat setting suitable for your fabric type, and press seams open or to one side depending on your design. A crisp crease can make your bag look professionally made and easier to sew if you add lining or pockets later.
Optional Embellishments
Think about adding personal touches like fabric paint, patches, or embroidery to make your bag unique. Buttons, ribbons, or decorative stitching can also enhance style and function. What small detail could make your bag reflect your personality or purpose?
Care And Maintenance
Taking good care of your cloth bag ensures it stays durable and looks fresh for a long time. Proper maintenance helps avoid wear and tear, keeping the fabric strong and the colors vibrant. Let’s look at some practical tips you can use to wash and store your handmade cloth bag effectively.
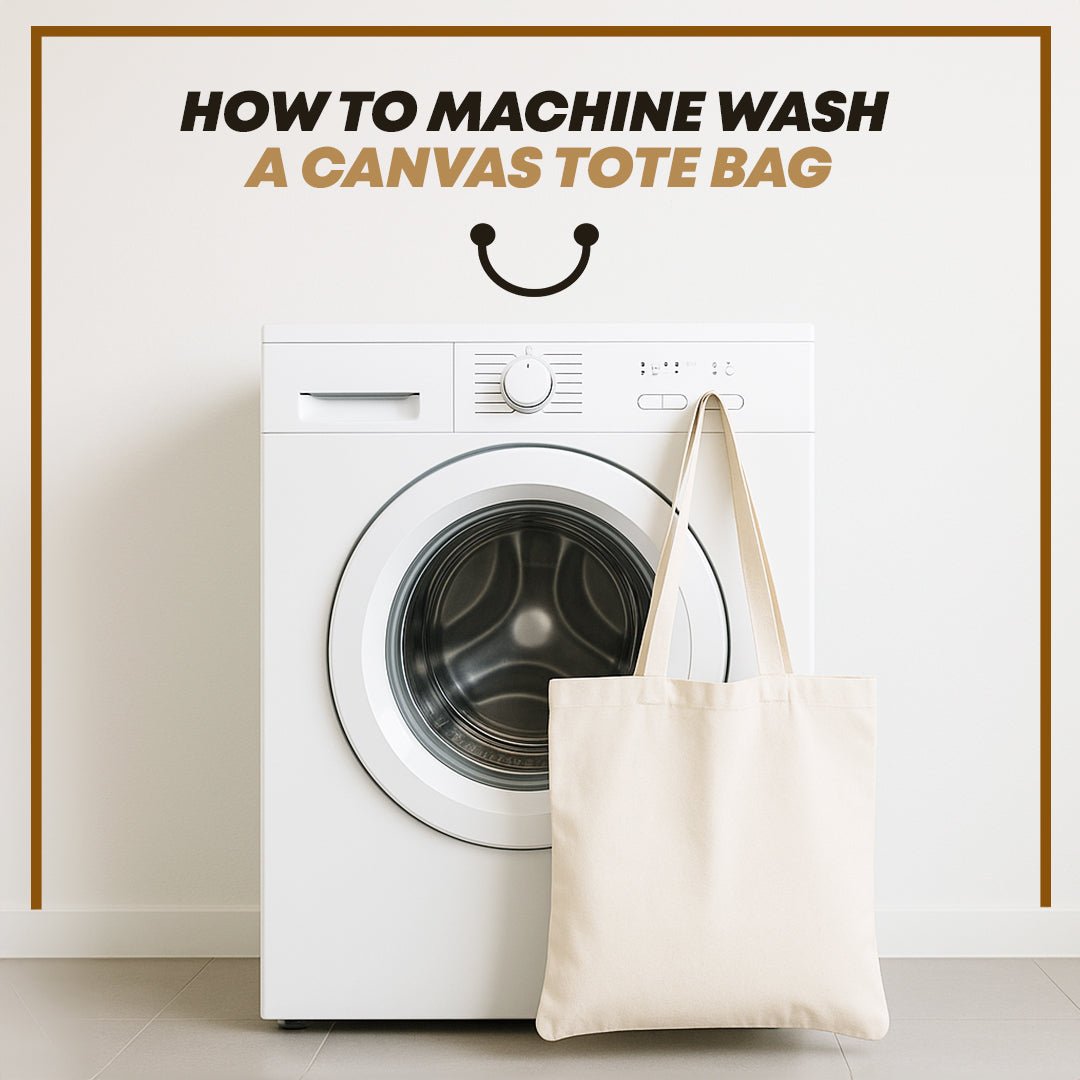
Washing Tips
Always check the fabric type before washing. Some cloth bags handle machine washing well, but others need gentle hand washing to avoid damage.
- Use cold water to prevent shrinking or color fading.
- Choose mild detergent to protect the fabric’s fibers.
- Avoid bleach or harsh chemicals that can weaken the material.
- If using a washing machine, put your bag in a mesh laundry bag for extra protection.
- Let your bag air dry instead of using a dryer to maintain its shape.
I once washed a cotton bag on a hot cycle and ended up with a shrunken mess. That experience taught me to always opt for cold water and gentle cycles, even if it takes longer.
Storage Suggestions
How you store your cloth bag affects its lifespan. Avoid folding it tightly to prevent creases and fabric stress.
- Keep your bag in a cool, dry place away from direct sunlight to avoid fading.
- Stuff your bag lightly with tissue paper or cloth to maintain its shape when not in use.
- Use breathable fabric covers or cloth bags for storage instead of plastic, which can trap moisture.
Have you noticed how your bag looks after a few months in a crammed drawer? Giving it room and proper support can make a big difference.

Credit: www.youtube.com
Frequently Asked Questions
What Materials Do I Need To Sew A Cloth Bag?
You need fabric, thread, scissors, pins, and a sewing machine or needle. Choose durable fabric like cotton or canvas for strength and longevity.
How Do I Start Sewing A Cloth Bag?
Cut fabric pieces according to the pattern. Pin pieces together, then sew along the edges, leaving openings for handles and turning.
Can I Customize The Size Of My Cloth Bag?
Yes, simply adjust the fabric dimensions before cutting. Customize size based on your intended use, from small pouches to large totes.
How Do I Add Handles To A Cloth Bag?
Cut fabric strips or use ready-made straps. Attach handles securely by sewing them to the bag’s top edges for durability.
Conclusion
Sewing a cloth bag is simple and fun. You only need basic tools and a little time. This project helps save money and protect the environment. Plus, you can choose your favorite colors and patterns. Practice makes perfect, so don’t worry about mistakes.
Each bag you make will look better than the last. Enjoy the process and feel proud of your creation. Start today, and carry your own cloth bag everywhere. Small steps lead to big changes.