Are you looking to channel your creativity into something practical and sustainable? Sewing your own grow bag might be just the project for you.
Imagine the satisfaction of nurturing plants in a bag you crafted yourself. Plus, it's a great way to recycle old fabrics and save money. But where do you start, and what do you need? Don’t worry; you’re about to discover how easy it can be.
In this guide, you'll learn each step of the process in simple terms, ensuring you can confidently create a grow bag that fits your gardening needs. Ready to dive in and unleash your inner DIY enthusiast? Keep reading to find out how you can transform fabric into a functional grow bag that brings life to your garden.
Materials Needed
Before sewing a grow bag, gather all necessary materials. Choosing the right supplies helps create a sturdy and functional bag. Use quality items for best results. This section breaks down the essential materials into fabric choices, sewing tools, and additional supplies.
Fabric Choices
- Use breathable fabric like canvas or burlap for airflow.
- Consider heavy-duty cotton for durability and water retention.
- Recycled materials like old denim work well and are eco-friendly.
- Water-resistant fabric can help keep soil moist longer.
- Choose dark colors to absorb heat and support plant growth.
Sewing Tools
- A strong sewing machine or heavy-duty needle for hand sewing.
- Thread that matches the fabric type, preferably polyester or nylon.
- Sharp fabric scissors for clean cuts.
- Measuring tape or ruler for precise dimensions.
- Pins or clips to hold fabric pieces together during sewing.
Additional Supplies
- Fabric marker or chalk for marking cutting lines.
- Handles made from webbing or sturdy fabric strips.
- Reinforcement patches for extra strength at stress points.
- Soil and plants for filling after the bag is sewn.
- A watering can or spray bottle to keep plants hydrated.

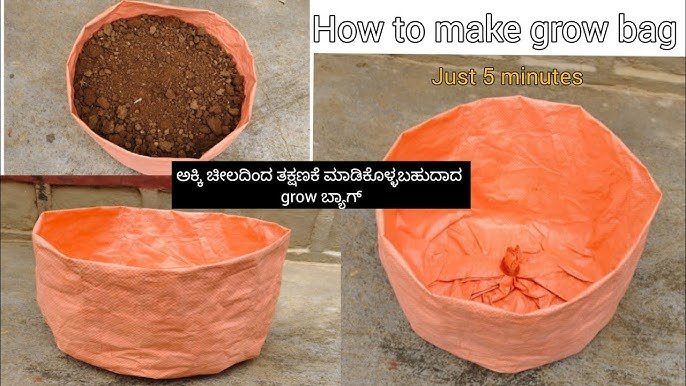
Credit: www.reddit.com
Preparing The Fabric
Preparing the fabric is a key part of sewing a durable grow bag. This stage sets the foundation for a neat and functional bag. Proper preparation helps avoid mistakes and saves time during sewing.
Choose a strong, breathable fabric like canvas or thick cotton. Ensure the fabric is clean and dry before starting. Lay it flat on a large surface for accurate measuring and cutting.
Measuring And Cutting
Measure the fabric based on your grow bag size. Add extra inches for seams and hems. Use a ruler or measuring tape for precision. Mark the measurements lightly with a fabric pencil or chalk.
Cut the fabric carefully along the marked lines. Use sharp fabric scissors to avoid frayed edges. Keep the fabric flat and steady while cutting. Accurate cutting ensures all pieces fit together well.
Marking Sewing Lines
Mark sewing lines inside the seam allowance. This guides your sewing and keeps stitches straight. Use a fabric marker or tailor’s chalk for clear lines. Avoid marking the outside of the fabric to keep it clean.
Double-check measurements before marking. Mark points for key features like handles or drainage holes. Clear sewing lines make the stitching process faster and more accurate.
Sewing The Bag
Sewing the grow bag is where your project starts to take shape. This stage requires focus and precision, but it’s also quite satisfying to see the fabric transform into a functional container for your plants. Let’s break down the essential steps to make sure your grow bag is sturdy, breathable, and easy to handle.
Stitching The Sides
Begin by aligning the fabric edges carefully. Use a strong, durable thread—polyester works well for outdoor use.
Stitch the sides with a straight stitch about a quarter-inch from the edge. Double stitch or backstitch at the beginning and end to secure the seam. This prevents the sides from coming apart under the weight of soil and plants.
Think about the size of your bag and the type of plants you want to grow. If you expect heavier plants, reinforce the seams with an extra row of stitching.
Creating Drainage Holes
Drainage is crucial to prevent waterlogging and root rot. You can create drainage holes by carefully cutting small X-shaped slits in the bottom or sides of the bag.
Use scissors or a utility knife and space the holes evenly—about 2 to 3 inches apart. You want enough holes to drain excess water but not so many that soil falls out.
If you’re worried about soil loss, try lining the inside with a breathable landscape fabric. It keeps soil in but still allows water to escape.
Adding Handles
Handles make your grow bag easy to move, especially when it’s full of soil. Cut two strips of sturdy fabric or webbing, each about 12 inches long.
Sew each handle securely to opposite sides near the top edge of the bag. Use a box stitch or multiple rows of stitching for strength.
Think about where you’ll carry the bag from—adding a little extra length can make handling more comfortable. Have you tried making removable handles? They can save space when storing your bags.

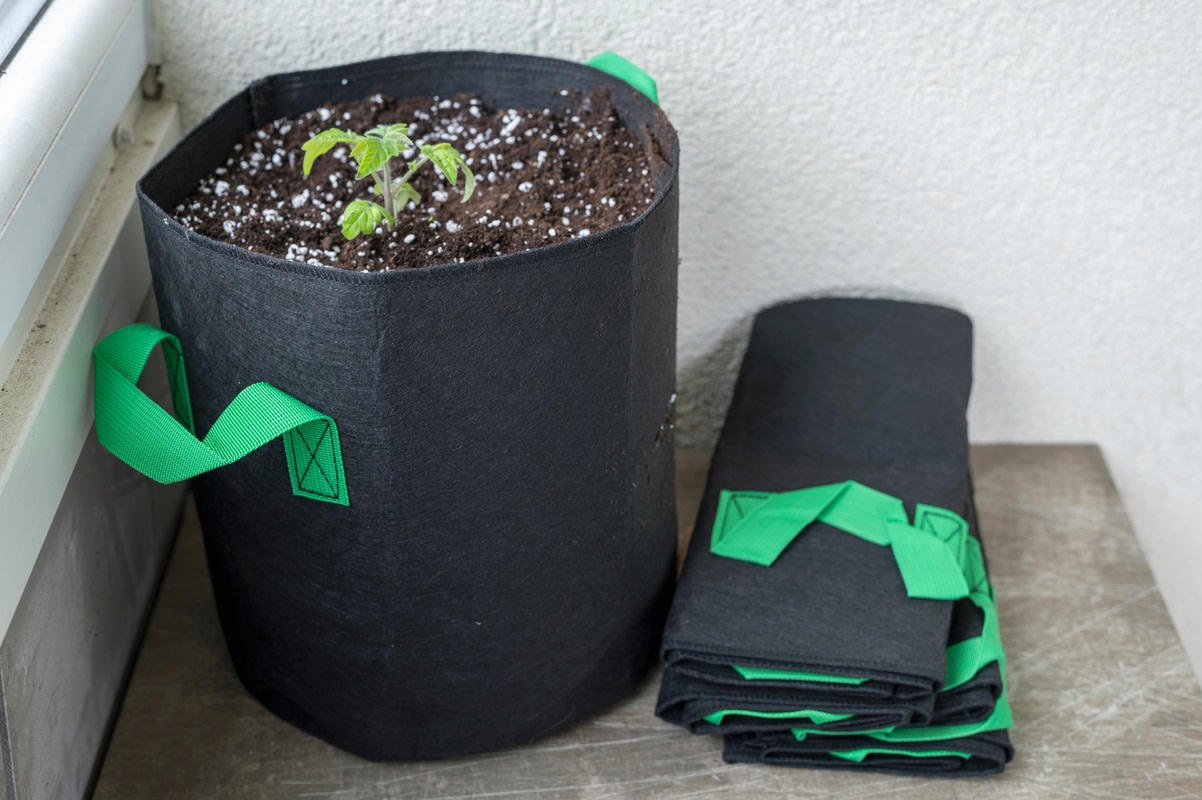
Credit: m.youtube.com
Finishing Touches
Finishing touches give your grow bag strength and style. They make sure the bag lasts through many planting seasons. These final steps also add a personal touch to your creation.
Reinforcing Seams
Strong seams keep soil and plants safe inside the bag. Double stitching or using a zigzag stitch adds extra hold. Use heavy-duty thread for better durability. Focus on corners and stress points where tension is high. You can also add fabric tape inside seams for more support. Reinforced seams prevent tearing and help your bag hold shape.
Adding Labels Or Decorations
Labels help identify plants easily. Use fabric markers or sew on small tags. Write the plant name or planting date for quick reference. Decorations make your grow bag look nice in the garden. Try simple embroidery, fabric paint, or patches. Choose weatherproof materials so they stay bright and clear. Personal touches make gardening more fun and organized.
Planting In Your Grow Bag
Planting in your grow bag is the key to a thriving mini garden. The right soil, plant choices, and watering habits create a healthy growing space. Each factor influences how well your plants grow and produce. Follow these tips to ensure your grow bag garden flourishes.
Choosing The Right Soil
Use light, well-draining soil for your grow bag. Soil rich in organic matter helps retain moisture and nutrients. Avoid heavy or clay soils that hold water and cause root rot. A mix of potting soil, compost, and coconut coir works well. This blend keeps roots aerated and hydrated.
Selecting Plants
Pick plants that suit container growth and have shallow roots. Herbs like basil, mint, and parsley grow well in grow bags. Lettuce, spinach, and radishes also thrive in this setup. Choose plants with similar water and sunlight needs to keep care simple. Avoid large or deep-rooted plants; they may outgrow the bag quickly.
Watering Tips
Grow bags dry out faster than traditional pots. Check soil moisture daily, especially on warm days. Water deeply until water drains from the bottom. Avoid overwatering, which can cause root diseases. Use a watering can or drip system for gentle, even watering. Morning watering helps plants absorb moisture before heat rises.
Credit: dengarden.com
Care And Maintenance
Keeping your grow bag in top shape is essential for healthy plants and long-lasting use. Proper care and maintenance not only protect your investment but also create a better growing environment. Let’s dive into the simple yet effective ways to clean and store your grow bag.
Cleaning The Bag
After each growing season, rinse your grow bag thoroughly with water to remove soil and plant debris. If you notice stubborn stains or residue, use a mild soap solution and a soft brush to scrub gently. Avoid harsh chemicals that might damage the fabric or leave harmful residues for your plants.
Let the bag air dry completely before storing it. Moisture left inside can cause mold or mildew, which weakens the material and affects your next crop. Have you ever found your grow bag smelling musty? That’s a clear sign moisture wasn’t fully removed.
Storage Between Seasons
Store your grow bag in a cool, dry place away from direct sunlight when not in use. Folding it neatly helps prevent creases that can weaken the fabric over time. Consider using a breathable storage bag or container to keep dust and pests out.
Think about how you’ll access your grow bags next season—easy reach saves time and effort. How often do you find your gardening tools buried and forgotten? Keep your grow bags visible and ready for action to stay motivated all year round.
Frequently Asked Questions
What Materials Do I Need To Sew A Grow Bag?
You need breathable fabric like canvas or felt, scissors, a sewing machine, thread, and a measuring tape. These materials ensure durability and proper aeration for plant roots, essential for healthy growth in your grow bag.
How Do I Sew A Grow Bag Step-by-step?
Cut fabric panels to size, sew sides to form a bag, add handles, and reinforce seams. Ensure the bag is sturdy and breathable to support plant roots and allow proper drainage.
Can I Reuse Fabric To Make Grow Bags?
Yes, repurposing old canvas or thick fabric is eco-friendly and cost-effective. Ensure the fabric is clean, breathable, and durable enough to hold soil and plants.
How Big Should A Grow Bag Be?
Grow bags typically range from 10 to 20 gallons in size. Choose the size based on the plant type and root space needed for healthy growth.
Conclusion
Sewing a grow bag is simple and fun to try. You only need basic materials and tools. This project helps you save money and grow plants easily. A handmade grow bag fits your space perfectly. Keep your plants healthy with good soil and watering.
Enjoy fresh herbs or vegetables at home. Start small and watch your garden grow. It’s a great way to learn and enjoy gardening. Give it a go, and see the results yourself!