Are you tired of using disposable lunch bags that tear easily or don’t keep your food fresh? Imagine having a lunch bag that’s just the right size, made from fabric you love, and durable enough to last for months.
Sewing your own lunch bag is easier than you think, and it gives you full control over style and function. In this guide, you’ll discover simple steps to create a practical, reusable lunch bag that fits your daily needs perfectly.
Ready to save money and reduce waste while adding a personal touch to your meals? Let’s get started!
Materials Needed
Gathering the right materials is crucial before you start sewing your lunch bag. The quality and type of fabric, tools, and accessories you choose will affect both the look and durability of your final product. Let’s break down what you’ll need to make a lunch bag that’s both functional and stylish.
Fabric Choices
Choosing the right fabric is more than just picking a pretty pattern. You want something durable, easy to clean, and preferably insulated to keep food fresh.
- Cotton canvas:Sturdy and easy to work with, plus it comes in many colors and prints.
- Oilcloth or laminated cotton:Water-resistant and wipeable, perfect for spills and messes.
- Insulated fabric or thermal lining:Keeps your food at the right temperature longer.
- Fleece or batting:Use this as a middle layer for extra padding and insulation.
Think about how you’ll use the lunch bag. Will it carry hot meals, cold snacks, or both? Your fabric choice should match your lifestyle.
Essential Sewing Tools
Having the right tools makes sewing smoother and more enjoyable. You don’t need a fancy setup, just the basics that get the job done well.
- Sewing machine:Speeds up the process and provides strong, even stitches.
- Scissors or rotary cutter:Sharp cutting tools ensure clean edges.
- Measuring tape or ruler:Accurate measurements help your bag fit just right.
- Pins or clips:Hold fabric pieces together before sewing.
- Thread:Choose a strong polyester thread for durability.
- Iron and ironing board:Press seams flat for a professional finish.
Have you ever struggled with fabric slipping while sewing? Pins or clips can be a game changer here, giving you better control.
Optional Accessories
Want to add some extra flair or functionality? These accessories can make your lunch bag stand out or work better.
- Zippers or Velcro:Easy closures keep your food secure.
- Handles or straps:Make your bag easy to carry around.
- Decorative patches or embroidery:Personalize your bag with fun designs.
- Waterproof lining:Adds extra protection from leaks and spills.
Imagine customizing your lunch bag with your child’s favorite colors or characters. How much more excited would they be to carry it?
Preparing The Fabric
Preparing the fabric is a crucial step that sets the foundation for your lunch bag's durability and style. It involves precise measuring, adding the right insulation, and marking seam lines to ensure everything fits perfectly. Taking your time here can save you from headaches later and give your bag a professional look.
Measuring And Cutting
Start by deciding the size of your lunch bag. Think about what you usually pack—does it need to fit a sandwich, a juice box, or maybe a container? Measuring your lunch items helps you create a bag that’s just right.
Use a ruler or measuring tape to mark your fabric. Remember to add extra inches for seams and the bag’s depth. Cutting with sharp scissors ensures clean edges, which makes sewing easier and more precise.
Adding Insulation
Insulation keeps your food fresh and at the right temperature. You can use foam, batting, or special thermal fabric. Choose one that fits your sewing skills and the bag’s purpose.
Lay the insulation between the outer fabric and the lining. This sandwich method adds bulk and protection. Have you thought about how thick or flexible you want your bag to be? That choice impacts comfort and usability.
Marking Seam Lines
Marking seam lines guides your stitches and keeps everything aligned. Use a fabric chalk or washable marker for clear, temporary lines. Avoid permanent ink that could stain your fabric.
Mark both the outer fabric and the lining, including the insulation edges. This helps you sew all layers together smoothly. Have you noticed how neat seam lines make the difference between a homemade and a store-bought look?
Sewing The Main Body
Sewing the main body of a lunch bag shapes its structure and durability. This part holds everything together. Careful stitching ensures the bag lasts and looks neat. Focus on clean lines and strong seams for best results.
Stitching The Sides
Start by aligning the two main fabric pieces with right sides facing each other. Pin the edges to keep the fabric steady. Use a straight stitch to sew along the sides, leaving the top open. Backstitch at both ends to secure the thread. Trim the seam allowance to reduce bulk. Press the seams open for a flat finish.
Creating The Bottom Panel
Attach the bottom panel to the main body for a sturdy base. Match the edges of the bottom fabric with the body’s bottom edge. Pin evenly, easing the fabric as needed to avoid puckers. Sew the panel with a straight stitch, keeping the seam allowance consistent. Reinforce the corners with extra stitches. Turn the bag right side out and press the bottom panel flat.
Attaching The Lining
Prepare the lining fabric by sewing its sides just like the outer body. Insert the lining inside the main body with wrong sides facing. Align the top edges and pin all around. Sew the top edges together, leaving a small gap to turn the bag inside out. Pull the bag through the gap, then close the opening with a neat topstitch. Press the top edge for a clean finish.
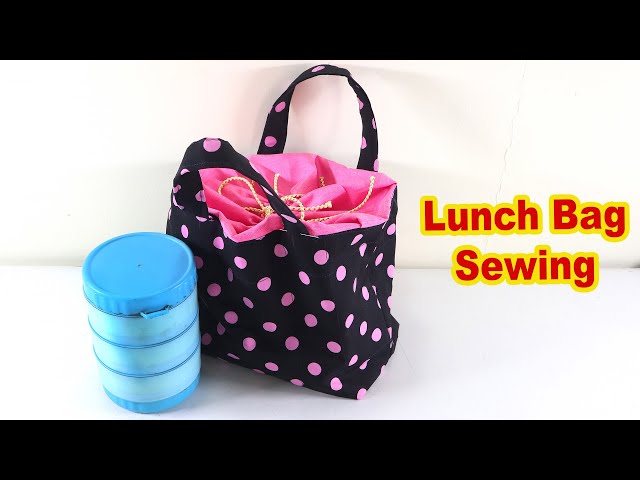
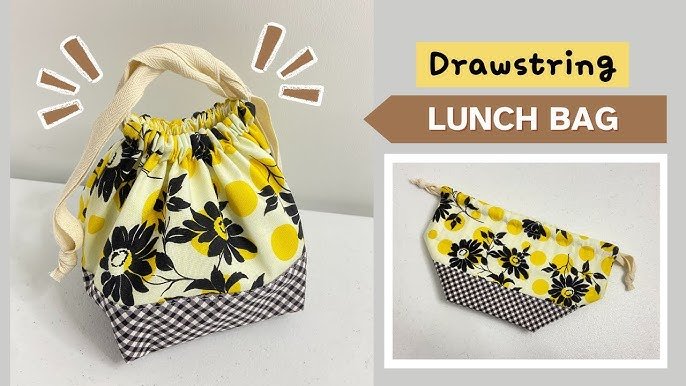
Credit: www.youtube.com
Adding Closures
Adding closures to your lunch bag is essential for keeping food secure and fresh. The right closure prevents spills and keeps the bag tightly sealed. Choosing the best closure depends on your needs and sewing skills. This section covers popular closure types and how to install them properly.
Choosing Between Zippers And Velcro
Zippers provide a strong, secure closure. They keep the bag tightly closed and look neat. Zippers work well for insulated lunch bags.
Velcro is easier to use and sew. It allows quick opening and closing. Velcro suits soft, flexible lunch bags better.
- Zippers last longer but need careful sewing.
- Velcro is simple to attach but may wear out faster.
- Consider your fabric type and sewing skills before choosing.
Installing The Closure
Place the closure at the top edge of the bag. Pin it carefully to avoid shifting.
For zippers, align the zipper tape with the bag edge. Sew slowly using a zipper foot on your machine.
For Velcro, sew the hook side to one edge and the loop side to the opposite edge. Use a straight stitch for strong attachment.
Test the closure by opening and closing the bag several times. Make adjustments if needed to ensure smooth operation.
Finishing Touches
Finishing touches can transform a simple lunch bag into something both functional and personal. These final steps not only improve durability but also add style and convenience to your creation. Think about how you want to carry your bag and what personality you want it to show before you start.
Adding Handles Or Straps
Handles or straps make carrying your lunch bag much easier. You can sew on fabric loops, use webbing tape, or even repurpose old bag straps for a sturdy hold. Make sure to attach them securely by stitching back and forth several times to avoid any surprises when your bag is full.
Consider the length and style—should it be a short handle for hand carry or a longer strap for shoulder use? You might want to test different lengths with some scrap fabric before sewing the final ones on. This small step can save you from discomfort later.
Decorating Your Bag
Adding decorations is your chance to make the lunch bag uniquely yours. You can sew on patches, use fabric paint, or attach buttons and ribbons. Even simple topstitching in a contrasting thread color can make a big visual impact.
Think about what inspires you daily—maybe a favorite quote or a fun pattern. Have you tried using embroidery to add a personal touch? It’s surprisingly easy and adds a charming detail that friends and coworkers will notice.
Reinforcing Seams
Reinforcing seams is crucial if you want your lunch bag to last. Double stitching or using a zigzag stitch along the edges can prevent fraying and give extra strength. Don’t skip this step, especially at stress points like where handles are attached.
Have you ever had a bag tear at the seams right when you needed it most? Avoid that frustration by adding a small piece of interfacing or fabric tape inside those critical areas. It’s a simple trick that makes a big difference in durability.
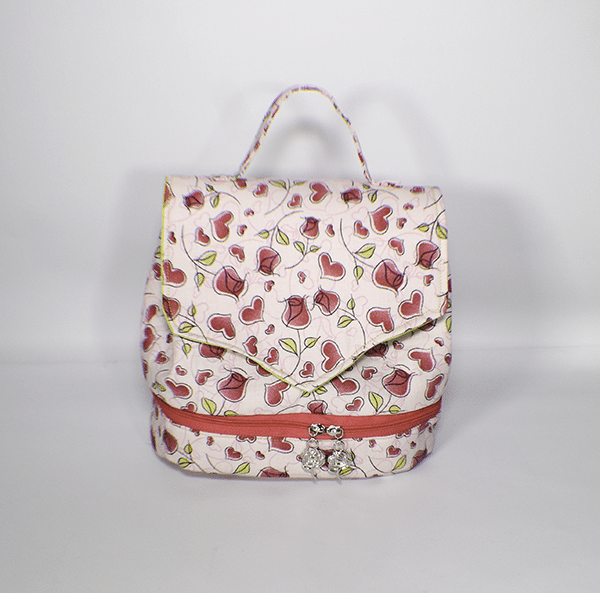
Credit: sewverycrafty.com
Care And Maintenance
Proper care and maintenance keep your lunch bag fresh and lasting longer. Clean it regularly to avoid stains and smells. Store it right to keep its shape and fabric strong.
Cleaning Tips
- Empty the lunch bag completely before cleaning.
- Use a soft cloth or sponge with mild soap and warm water.
- Gently scrub the inside and outside surfaces.
- Rinse with clean water to remove soap residue.
- For tough stains, use a paste of baking soda and water.
- Do not use bleach or harsh chemicals.
- Air dry the bag fully before storing or using again.
- Machine wash only if the fabric and construction allow.
Storage Suggestions
- Keep the lunch bag in a cool, dry place.
- Avoid folding it in a way that damages its shape.
- Store it open to let air circulate and prevent odors.
- Do not place heavy items on top of the bag.
- Check for moisture and dry if needed before storing.
- Use a dust bag or pillowcase for extra protection.
Benefits Of Eco-friendly Lunch Bags
Eco-friendly lunch bags offer many benefits beyond just carrying your food. They help protect the planet, save money, and let you express your style. Making your own lunch bag by sewing is a simple way to enjoy these advantages. Each bag reduces the use of plastic and disposable items, which harm the environment. Choosing or creating eco-friendly options supports a greener lifestyle.
Reducing Waste
Using an eco-friendly lunch bag cuts down on single-use plastics. These bags replace disposable bags and wraps that end up in landfills. Reusable lunch bags last for years, which means less trash. Sewing your own bag ensures it fits your needs and lasts even longer. This small change lowers your environmental impact every day.
Saving Money
Buying reusable lunch bags saves money over time. Disposable bags add up quickly with daily use. A homemade lunch bag costs less than many store-bought options. You can choose affordable materials and make the bag yourself. This reduces spending and avoids frequent replacements.
Personalizing Your Style
Sewing your own lunch bag allows total creative control. Pick fabrics, colors, and patterns you love. Add pockets or decorations to fit your routine. A personalized lunch bag stands out and reflects your personality. It makes carrying lunch more fun and unique.

Credit: m.youtube.com
Frequently Asked Questions
What Materials Are Needed To Sew A Lunch Bag?
To sew a lunch bag, you'll need fabric, interfacing, a zipper, and thread. Choose a durable, washable fabric for the exterior. Use interfacing to add structure. A zipper secures contents, and thread should match the fabric color. Additional materials include scissors, pins, and a sewing machine.
How Do I Choose The Right Fabric?
Select a fabric that's durable, washable, and easy to clean. Cotton canvas or laminated cotton are great choices. They resist stains and are easy to sew. Consider the bag's purpose and personal style. Choose a pattern or color that reflects your personality and fits your needs.
Can Beginners Sew A Lunch Bag?
Yes, beginners can sew a lunch bag with basic sewing skills. Start with a simple pattern and follow step-by-step instructions. Practice sewing straight lines and using a sewing machine. Online tutorials and sewing guides can provide helpful tips. Taking your time ensures a successful project.
How Long Does It Take To Sew A Lunch Bag?
Sewing a lunch bag typically takes 2 to 4 hours for beginners. Experienced sewers might complete it faster. Preparation, including cutting fabric and gathering materials, affects the time. Following a clear pattern and instructions can streamline the process. Allow extra time for any adjustments or customizations.
Conclusion
Sewing your own lunch bag saves money and lets you choose your style. It’s easier than it looks. With basic materials and simple steps, anyone can do it. Handmade bags can be stronger and last longer. Plus, you help reduce waste by using reusable bags.
Try making one today and enjoy packing meals in a unique way. Small projects like this build confidence and skills. Give it a shot—you might find it fun and rewarding!