Have you ever picked up your favorite leather bag only to find its strap has seen better days? This frustrating situation can leave you wondering how to restore it to its former glory.
Fixing a leather bag strap might seem daunting, but it’s easier than you think. Imagine the satisfaction of carrying your beloved bag again, looking as good as new. This guide is your go-to resource for simple, effective solutions to repair that strap without the need for expensive professional help.
Stay with us as we unravel step-by-step methods that will save you time and money while ensuring your leather bag stays a stylish staple in your wardrobe.
Tools And Materials Needed
Before you start fixing your leather bag strap, gathering the right tools and materials is crucial. Having everything on hand can save you time and frustration. It also ensures your repair is strong and looks professional.
Essential Repair Tools
You don’t need a fancy workshop to fix a leather strap. Basic tools like a pair of sharp scissors or a small utility knife help you trim frayed edges cleanly. A leather hole punch is handy if you need to make new holes for buckles or rivets.
A set of small pliers can help remove old hardware or hold pieces steady while working. Don’t forget a ruler or measuring tape to get precise lengths and cuts. These simple tools are often found in your home or can be easily purchased at a hardware store.
Choosing The Right Leather Adhesive
Not all glues work well with leather. You want an adhesive designed specifically for leather to ensure a strong, flexible bond. Contact cement or special leather glue are popular choices because they stay flexible and resist cracking.
Ask yourself: Will the glue hold through daily wear and tear? Look for waterproof and heat-resistant options if your bag faces rough conditions. Avoid super glue, as it can dry too hard and damage the leather.
Additional Supplies For Reinforcement
Sometimes, glue alone isn’t enough. You might want to add extra strength with leather patches or fabric reinforcements. Small metal rivets or stitching kits can also improve durability and appearance.
Think about the strap’s weak points—adding a patch inside the strap can prevent future tears. If you choose stitching, use heavy-duty nylon or polyester thread for long-lasting repairs. These extras give your bag a professional finish and help it last longer.
Assessing The Damage
Before fixing your leather bag strap, it's important to carefully assess the damage. This step helps you understand the severity of the problem and decide the best way to restore your bag's functionality and appearance. Taking a close look now can save you time and money later.
Identifying Common Strap Issues
Leather bag straps often face wear and tear in predictable ways. Look for cracks along the strap, especially near the points where it attaches to the bag. These cracks usually appear because of constant bending and pressure.
Another common issue is the stitching coming undone. Loose or missing stitches can make the strap unstable, risking a sudden break. Check if the hardware, like buckles or clasps, is damaged or rusted as well.
Have you noticed your strap stretching or thinning? This can weaken the leather, making it less reliable over time. Recognizing these signs early helps you decide if a simple fix or a more involved repair is needed.
Evaluating Repair Vs Replacement
Once you identify the issues, think about whether repairing the strap is enough or if replacement is necessary. Minor cracks and loose stitches often respond well to repairs like leather conditioner and restitching.
If the leather is deeply cracked or the strap is excessively worn, replacing it might be the safer option. Sometimes, replacing hardware pieces alone can restore function without changing the whole strap.
Ask yourself: Will the repair hold up with daily use, or will you risk the strap breaking again soon? Consider your bag’s value and sentimental worth too. Sometimes investing in a new strap prolongs your bag’s life more effectively than patching up old damage.
Preparing The Strap For Repair
Before fixing your leather bag strap, it's crucial to prepare it properly. This preparation ensures the repair will last longer and look better. Neglecting this step can cause adhesives or stitches to fail quickly, leaving you frustrated and back to square one.
Cleaning The Leather Surface
Start by gently wiping the leather with a soft cloth to remove any surface dust. Use a leather cleaner or a mild soap diluted in water for deeper cleaning. Avoid soaking the leather; instead, dampen the cloth slightly to prevent damage.
Cleaning reveals hidden cracks or weak spots you might miss otherwise. Have you noticed how grime buildup can hide a tiny tear? Removing dirt also helps adhesives stick better, making your repair stronger.
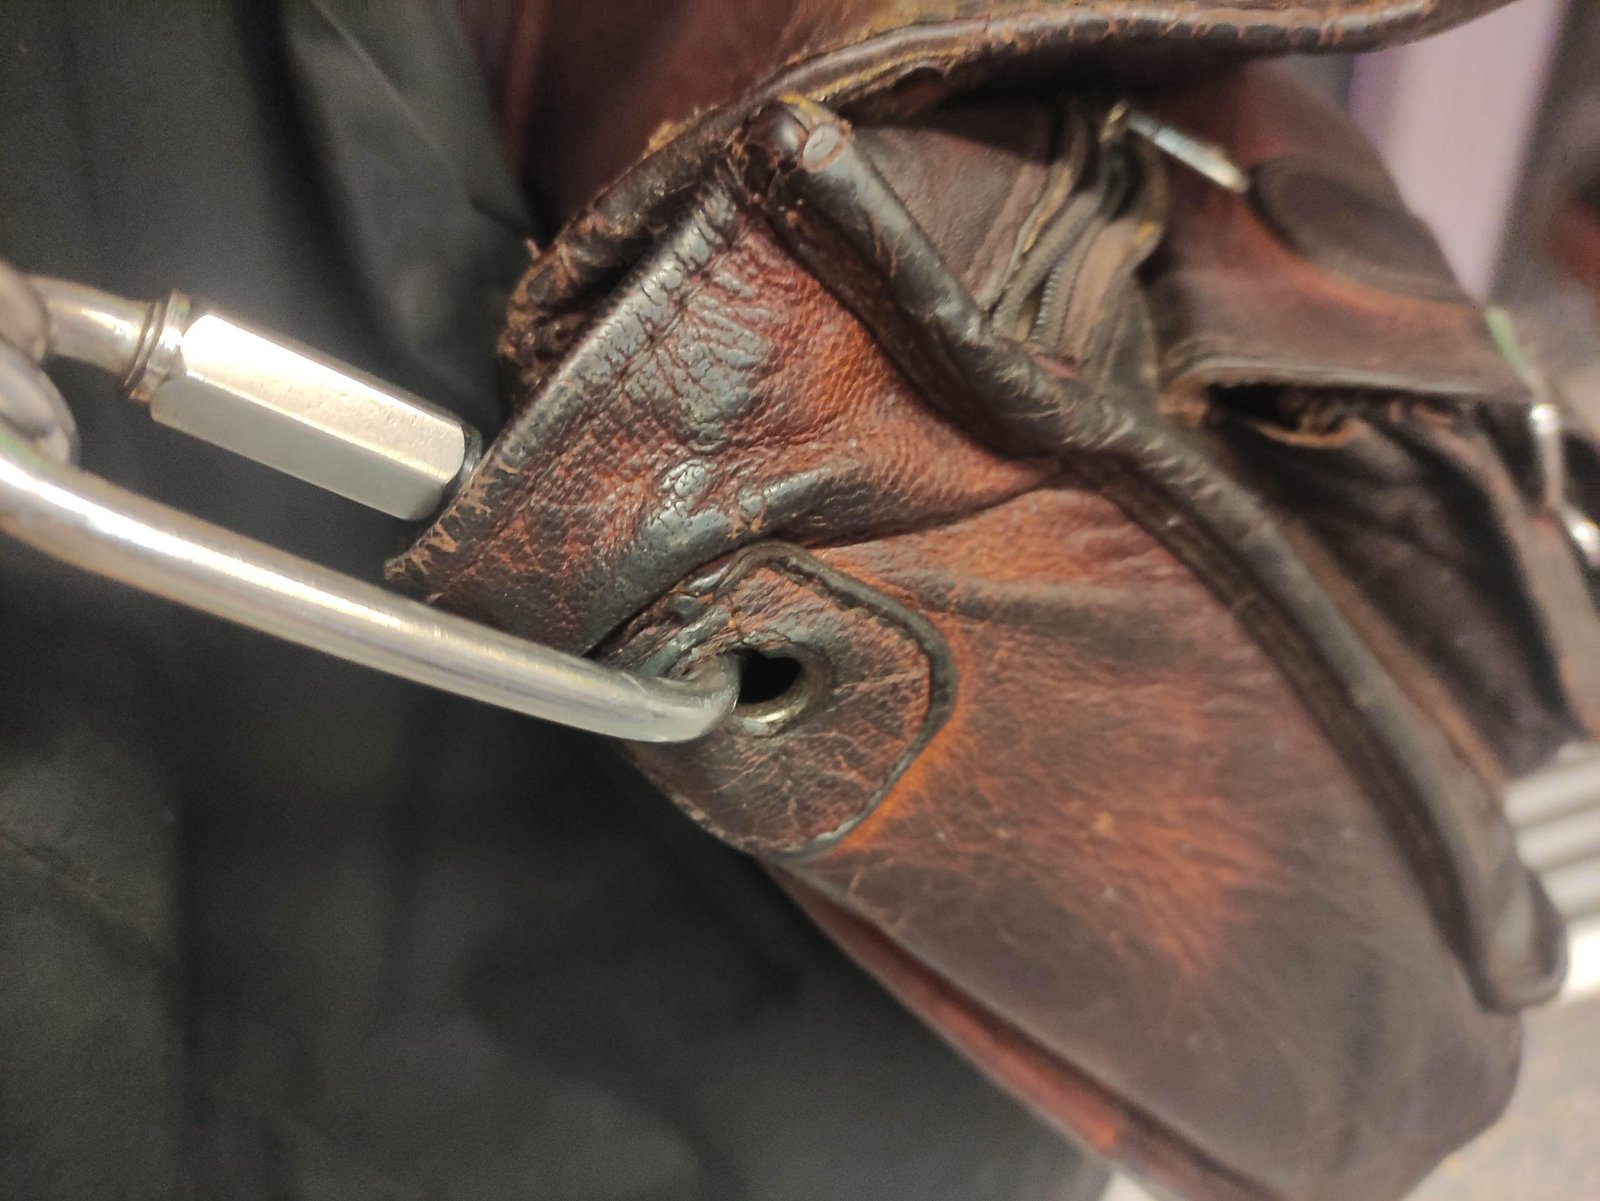
Removing Loose Threads And Debris
Carefully inspect the strap for any loose threads, frayed edges, or debris caught in stitches. Use small scissors or a seam ripper to trim away these loose threads without cutting into the leather itself.
Getting rid of debris is just as important—dust or small particles can weaken glue bonds or cause stitches to unravel again. Think of this step as clearing the workspace before you start fixing; a clean area means fewer surprises later.

Credit: www.reddit.com
Repairing Small Tears And Cracks
Small tears and cracks on a leather bag strap can reduce its lifespan and spoil its look. Fixing these issues early prevents further damage. Simple tools and materials can restore the strap’s strength and appearance. Follow careful steps to ensure a smooth repair that blends well with the leather.
Applying Leather Glue Correctly
Leather glue holds torn edges together tightly. First, clean the damaged area with a damp cloth. Let it dry completely before applying glue. Use a small brush or toothpick to spread glue evenly on both sides of the tear. Press the edges together firmly and hold for a few minutes.
Place a heavy object on the repair to keep pressure. Leave it to dry for at least 24 hours. Avoid stretching the strap during this time. Check for any glue residue and gently remove it with a soft cloth. This method works best for small, clean tears.
Using Leather Filler For Deep Cracks
Deep cracks need filling to restore the strap’s surface. Start by cleaning and drying the cracked area. Use a leather filler that matches the strap’s color. Apply the filler with a spatula or plastic card. Press it into the crack, filling all gaps.
Let the filler dry according to the product instructions. Sand the area lightly with fine sandpaper for a smooth finish. Repeat the filling and sanding if the crack is still visible. Finish by applying a leather conditioner or polish to blend the repair with the rest of the strap.
Fixing Broken Or Detached Straps
Broken or detached straps can ruin the usability of a leather bag. Fixing them helps extend the life of your favorite accessory. Simple tools and materials can restore the strap’s strength and look.
Careful repair keeps the leather intact and prevents further damage. This section covers two effective ways to fix broken or detached straps.
Reattaching Straps With Stitching
Stitching is a strong and reliable way to reattach a strap. Use a heavy-duty needle and thick thread designed for leather. Follow these steps:
- Align the strap end with the bag attachment point.
- Mark the holes with an awl or sharp tool.
- Use a saddle stitch for extra strength.
- Stitch through both the strap and the bag firmly.
- Secure the thread with a knot inside to hide it.
This method keeps the strap flexible and durable for daily use.
Reinforcing With Leather Patches
Leather patches add extra support to weak or torn strap areas. Choose a patch that matches your bag’s leather. Follow these tips:
- Cut the patch slightly larger than the damaged area.
- Use leather glue to attach the patch securely.
- Press the patch firmly and let it dry for several hours.
- For more strength, stitch around the edges of the patch.
- Trim any excess thread or glue once dry.
Leather patches prevent the strap from tearing again and improve its look.
Drying And Setting The Repair
Drying and setting the repair is a key phase in fixing a leather bag strap. The glue or adhesive needs time to cure. Proper drying ensures the repair holds firm and lasts long. Rushing this step can weaken the bond and cause the strap to break again. Follow simple tips to create the best conditions for drying and setting.
Optimal Drying Conditions
Choose a clean, dry place for drying the strap. Avoid direct sunlight. Sunlight can dry the leather too fast and cause cracks. Keep the strap flat or in its natural shape. This prevents bending or warping during drying.
- Room temperature between 65°F and 75°F works best.
- Good air circulation helps the glue cure evenly.
- Do not use a hair dryer or heater; heat can damage leather.
- Allow at least 24 hours for drying, or as recommended by the adhesive.
Ensuring Strong Bond And Durability
Press the glued areas firmly together before drying. Use clamps or heavy objects if needed. This keeps the surfaces in close contact. Avoid moving or bending the strap until the glue sets fully.
Check the repair gently after drying. Look for gaps or loose spots. If needed, apply more adhesive and repeat the drying process. Treat the leather with a conditioner after repair. This keeps the leather soft and durable.
Finishing Touches
After repairing your leather bag strap, the final steps are crucial to ensure durability and a polished appearance. These finishing touches help protect the leather and restore its natural beauty. Taking a little extra time here makes a big difference in how your bag looks and feels.
Conditioning The Leather
Leather can dry out and crack if not properly cared for. Applying a good-quality leather conditioner replenishes moisture and keeps the strap flexible. Use a soft cloth to gently rub the conditioner into the leather, focusing on any repaired areas.
Let the conditioner soak in for about 20 minutes, then wipe off any excess. Conditioning also prevents stiffness, which can cause future damage. Have you noticed how a well-conditioned strap feels softer and lasts longer?
Polishing For A Seamless Look
After conditioning, polishing adds a subtle shine and smooths out minor imperfections. Choose a leather polish that matches your bag’s color. Apply it lightly with a clean cloth, using small circular motions to blend the finish.
This step helps the repaired strap blend seamlessly with the rest of the bag. Don’t overdo the polish—too much can create an unnatural gloss. A balanced shine not only looks great but also adds a layer of protection against dirt and moisture.

Credit: www.reddit.com
Preventing Future Damage
Fixing a leather bag strap is only part of the solution. To keep your bag looking great and functional, you need to prevent future damage. Taking simple steps can save you time, money, and frustration down the road.
Proper Care And Maintenance Tips
Leather is a natural material that requires regular attention to stay strong and flexible. You should clean your bag gently with a damp cloth every few weeks to remove dirt and oils. Avoid harsh chemicals that can dry out the leather.
Conditioning your leather is essential. Use a good quality leather conditioner to keep the strap soft and prevent cracks. Apply the conditioner sparingly and let it absorb fully before using the bag again.
Ask yourself: How often do you inspect your bag for signs of wear? Catching small issues early can stop them from becoming bigger problems. Check the stitching and hardware regularly, and tighten or repair anything that feels loose.
Storage Recommendations
How you store your leather bag affects its lifespan. Avoid leaving your bag in direct sunlight or near heat sources, as this can cause fading and drying. Instead, store it in a cool, dry place.
Stuff the bag lightly with tissue paper or a soft cloth to help it keep its shape. Hanging the bag by its strap can stretch the leather, so lay it flat or stand it upright when storing.
Consider using a breathable dust bag or pillowcase to protect your leather from dust and scratches. Plastic bags trap moisture and can lead to mold growth, so steer clear of those.

Credit: www.reddit.com
Frequently Asked Questions
How Do I Repair A Cracked Leather Bag Strap?
To repair a cracked strap, clean it first with leather cleaner. Apply leather conditioner to soften the area. Use a leather repair kit for deeper cracks, following the instructions carefully. Let it dry completely before use to restore flexibility and appearance.
Can I Fix A Broken Leather Bag Strap At Home?
Yes, you can fix it at home using basic tools. Clean the strap and use strong adhesive or stitching for tears. For severe damage, consider a leather repair kit or consult a professional for best results.
What Materials Are Needed To Fix A Leather Bag Strap?
You need leather cleaner, conditioner, strong adhesive, a leather repair kit, and a needle with thread. Optional tools include scissors, clamps, and sandpaper for smoothing rough edges. These materials help restore strength and appearance effectively.
How Long Does It Take To Fix A Leather Bag Strap?
Fixing time varies with damage severity. Minor repairs take 30 minutes to an hour. More extensive fixes require several hours to dry and set properly. Patience ensures a durable and neat repair.
Conclusion
Fixing a leather bag strap can save your favorite bag. Small tears or loose stitches don't need to end its use. With simple tools and steps, you can make it strong again. Regular care helps keep the leather soft and durable.
Repairing also saves money and reduces waste. Try these tips to give your bag a new life. You’ll feel proud carrying a fixed, sturdy strap every day. Keep your leather bag ready for all your adventures.